A fine finish is the crowning touch that brings out the true beauty of wood. Learn the key steps in the sanding and finishing process, and discover how to insure good results. This article offers tips for a smooth, successful finish and shows how to avoid common pitfalls.
Sand with the grain
Sand with the grain when hand sanding or using a belt sander. Scratches are hard to see when they run parallel to the grain. But even the lightest scratches across the grain are obvious, especially after staining.
Sanding always progresses from coarse to finer and finer sandpaper. Whether you're sanding by hand or using a power tool, start with 80-grit to sand away blemishes, then use 120-grit and finally 180-grit. Using these exact grits isn't vital (100-150-180 works too), but it's important to progress in steps, removing deeper scratches and leaving finer scratches each time.
Test stains, thoroughly!
You can't rely on those stain samples on display in stores. Actual color varies a lot, depending on the type of wood and how you prepared it for finishing. So save scraps from your project, run them through the same sanding process and use them to test finishes. If you didn't build the item you're finishing, run tests on an inconspicuous area—the underside of a table, for example. Test stain on scraps to get the color you want. Leaving excess stain on the wood for longer or shorter periods won't affect the color much. If it's a custom color you're after, you can mix stains of the same brand.
Better brushes are the key
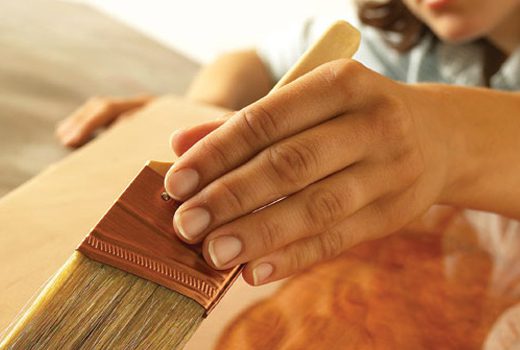
Usually, a brush is the best tool for applying polyurethane. For water-based poly, a synthetic brush (such as nylon or polyester) is best. For oil-based poly, use a natural-bristle brush. In either case, plan to spend a few dollars extra for a good-quality brush. Quality brushes hold more finish, lay it on smoothly and are less likely to leave lost bristles in your clear coat. If you clean your brush immediately after use, it'll serve you well far into the future.
Don't sand through the stain
When sanding between coats, it's easy to rub right through the clear coat, removing the stain below. So sand super lightly after the first coat, just enough to cut down any dust whiskers on the surface. If there are bigger problems—such as runs—deal with them after the second coat when you can sand a bit harder. To repair rubbed-through spots, just apply new stain. Immediately wipe away any stain that gets on the surrounding polyurethane.


